Thursday, June 6, 2013

Loaded Baked Potato & Buffalo Chicken Casserole


RECIPE FOR TWO
(original recipe was found HERE)

INGREDIENTS
  • 1 large boneless, skinless chicken breast, cut into 1/2 inch cubes
  • 1 large baking potato (I leave the skin on), cut into 1/2 inch cubes
  • 1/4 cup olive oil
  • 1/2 teaspoon salt
  • 1 teaspoon fresh ground pepper
  • 1 teaspoon paprika
  • 2 teaspoons garlic powder
  • 1/2 - 1 teaspoon hot sauce (you decide)


TOPPING
  • 1 cup Fiesta Blend Shredded Cheese
  • 1/4 cup crumbled cooked bacon
  • 1/4 cup diced green onion


DIRECTIONS:
Preheat oven to 475 degrees.
In a large bowl mix together the olive oil, hot sauce, salt, pepper, garlic powder and paprika.
Add the cubed potatoes and stir to coat.
Place potatoes in a greased baking dish - leaving the excess oil mixture.
Bake potatoes for 30-45 minutes, stirring every 15 minutes, until cooked through and nice and crispy on the outside.
While potatoes are baking, marinate the chicken in the "left-behind" oil mixture.  Add a little more olive oil, if needed.
Once potatoes are fully cooked - take out of the oven and lower the temperature to 400 degrees.
In a medium skillet, cook the chicken until is it no longer pink.
When chicken is thoroughly cooked, spread chicken over the potatoes.
Mix the bacon, onion and cheese in a bowl.
Place the cheese mixture over the potato & chicken.
Bake for approximately 5 minutes - until the cheese has melted.

Serve with extra hot sauce and/or ranch dressing.

Thursday, May 16, 2013

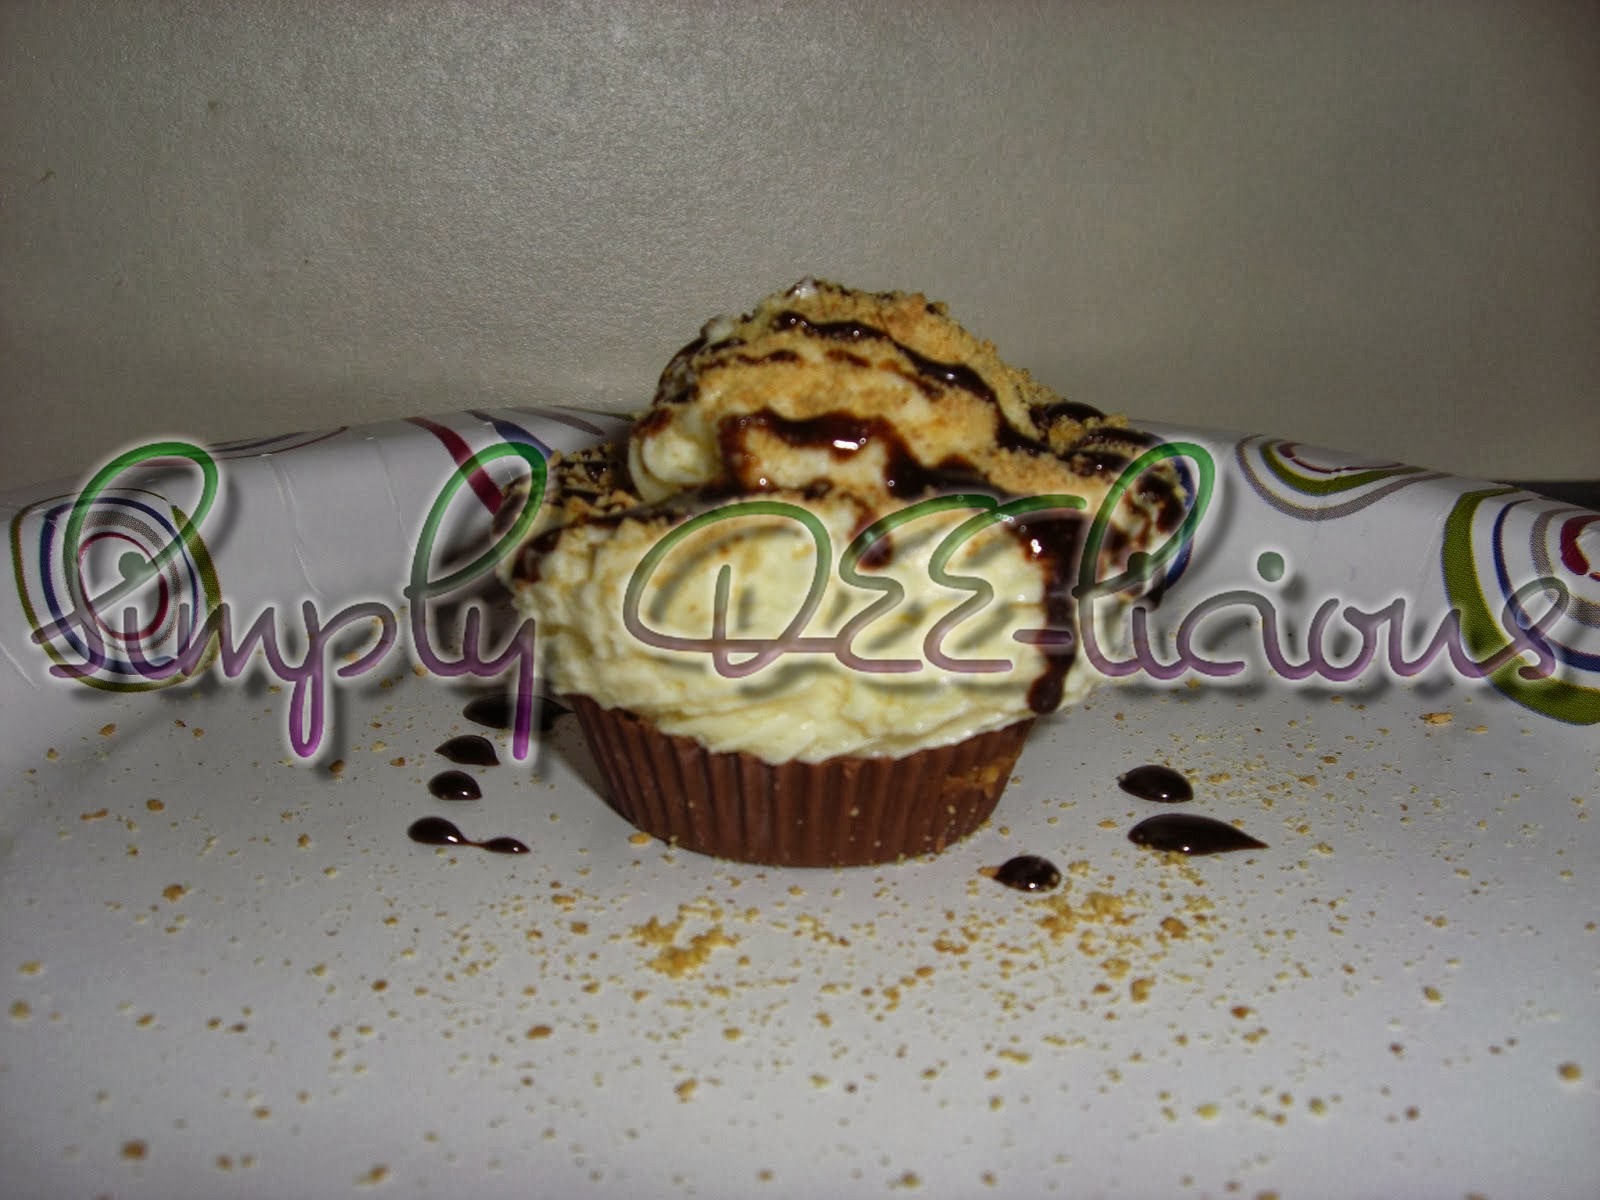
No-Bake Mini Cheescake


Reese's Peanut Butter Cups
Jell-O No-Bake Cheesecake

Take wrappers off of Peanut Butter Cups and place into cupcake liner in a cupcake pan.
Mix the Jell-O No-Bake Cheesecake FILLING according to the directions on the box.

I put the Cheesecake filling into a freezer bag with a corner cut out and a icing decorating tip inserted in it.
Put the cheesecake filling on top of the peanut butter cup.  I added an extra dollop to each one since I had some filling left after topping 12 peanut butter cups.
Place in refrigerator for at least one hour for them to "set up".

When serving - carefully remove the cupcake liner and add toppings of your choice.
On mine, I just sprinkled with some of the graham cracker crumbs that came in the No-Bake Kit, and then I drizzled with just a little chocolate syrup.

Husband was very pleased - so this was a SUCCESS and will be served many more times!

I got the "recipe" HERE.

Tuesday, October 16, 2012

Chocolate Silk Pie

SUPER EASY CHOCOLATE SILK PIE


1 - Graham Cracker Crust
1 - 8 oz. tub Cool-Whip
1 - 7 oz. Hershey Milk Chocolate Bar


Set the Cool-Whip out until it is room temperature.
Melt the Hershey Bar in microwave stirring every 30 seconds.
Stir in the Cool-Whip until fully incorporated.
Pour into Graham Cracker crust.
Cover and refrigerate until set.
For best results - make it the day before you want to serve.  Will keep several days in the fridge - IF - it lasts that long.
ENJOY!

The hardest part about this pie - is waiting for the Cool-Whip to get to room temperature.  If it is the slightest bit cool - it will not mix well.  When the HOT melted chocolate hits cool Cool-Whip it will immediately start to clump.  It needs be as smooth as SILK or it wouldn't be called Chocolate SILK pie!