Thursday, May 16, 2013

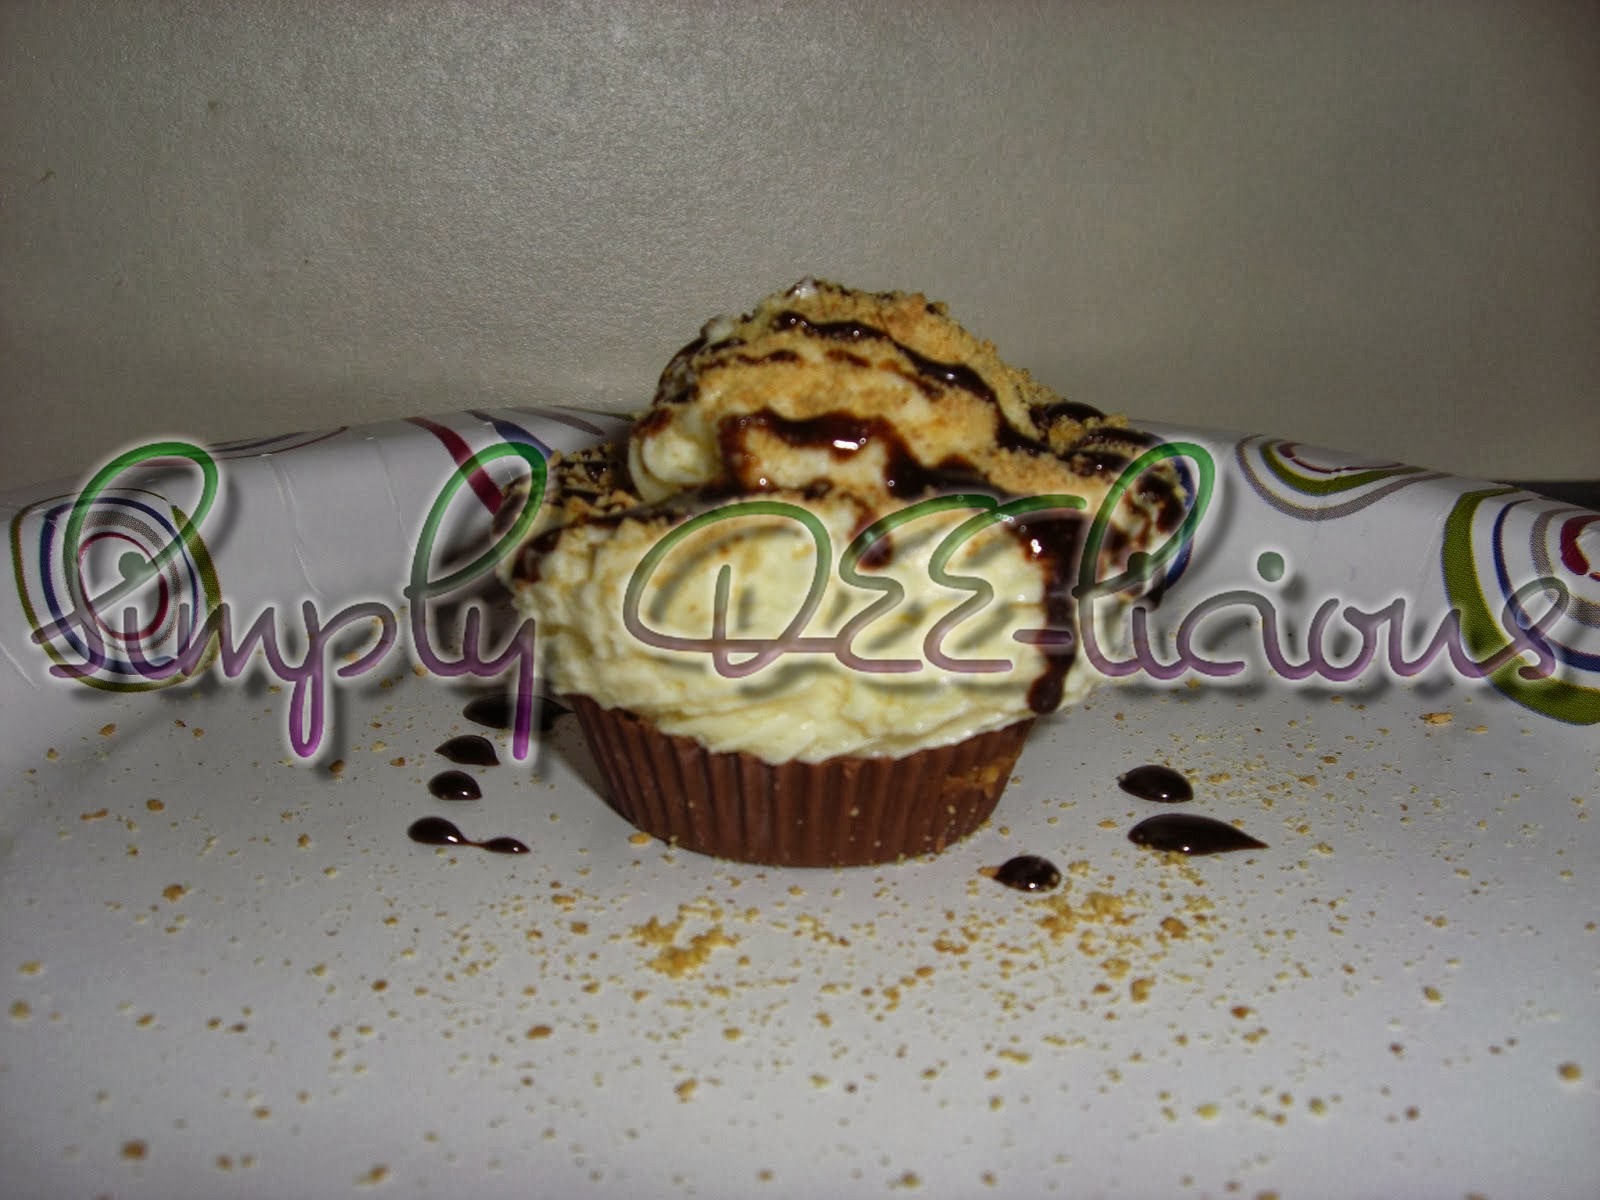
No-Bake Mini Cheescake


Reese's Peanut Butter Cups
Jell-O No-Bake Cheesecake

Take wrappers off of Peanut Butter Cups and place into cupcake liner in a cupcake pan.
Mix the Jell-O No-Bake Cheesecake FILLING according to the directions on the box.

I put the Cheesecake filling into a freezer bag with a corner cut out and a icing decorating tip inserted in it.
Put the cheesecake filling on top of the peanut butter cup.  I added an extra dollop to each one since I had some filling left after topping 12 peanut butter cups.
Place in refrigerator for at least one hour for them to "set up".

When serving - carefully remove the cupcake liner and add toppings of your choice.
On mine, I just sprinkled with some of the graham cracker crumbs that came in the No-Bake Kit, and then I drizzled with just a little chocolate syrup.

Husband was very pleased - so this was a SUCCESS and will be served many more times!

I got the "recipe" HERE.

Tuesday, October 16, 2012

Chocolate Silk Pie

SUPER EASY CHOCOLATE SILK PIE


1 - Graham Cracker Crust
1 - 8 oz. tub Cool-Whip
1 - 7 oz. Hershey Milk Chocolate Bar


Set the Cool-Whip out until it is room temperature.
Melt the Hershey Bar in microwave stirring every 30 seconds.
Stir in the Cool-Whip until fully incorporated.
Pour into Graham Cracker crust.
Cover and refrigerate until set.
For best results - make it the day before you want to serve.  Will keep several days in the fridge - IF - it lasts that long.
ENJOY!

The hardest part about this pie - is waiting for the Cool-Whip to get to room temperature.  If it is the slightest bit cool - it will not mix well.  When the HOT melted chocolate hits cool Cool-Whip it will immediately start to clump.  It needs be as smooth as SILK or it wouldn't be called Chocolate SILK pie!

Saturday, July 7, 2012

Simple Steering Wheel Cover


This is the photo of the one I made - but HERE is the tutorial that I read to learn how!

It took me a couple of hours - but I had not used my sewing machine in a couple of years - so I had to do some adjustments.  But, I think the next one will only take 30-45 minutes to make.  Really - the hardest part was putting the elastic through because my safety pin kept opening.